Welcome to JustMakeItStudio blog. You can expect to see snippets of upcoming blueprints or freebies from the ones that are already available, past projects, or just thoughts sharing.
<━━━━━━━━>
FIRE PIT
Introducing the Fire Pit for you – your new essential for outdoor adventures, designed with apartment living in mind!

Get yours now by contacting me directly!
Why settle for less when you can have more?
Unbreakable
Built with solid steel, this fire pit is virtually indestructible, make it your own, let it gather bumps and scratches and watch as the heat creates a colorful gradient.
Foldable & Storagable
Folds down to the size of a laptop – perfect for small apartments and on-the-go adventurers. It slips easily into a tote bag or a tiny closet.
No Tools Needed
Say goodbye to the hassle. Assemble it in just three simple moves and enjoy your fire in no time. Bob’s your uncle, it’s ready for use!

Don’t let limited storage stop you from enjoying the outdoors – grab your Fire Pit today and make every adventure a fiery success!

I had an absolute blast designing and refining the form and details of the Fire Pit. It went through so many prototypes, each one better than the last, thanks to feedback from potential users and other designers. Every tweak and adjustment came from real conversations, figuring out what worked and what didn’t. It’s been a fun journey, and seeing how it’s evolved into what it is now makes all the effort totally worth it!
<━━━━━━━━>
Upcycled Plastic Card Holder
The goal of this project is to contribute to reducing plastic waste by reusing HDPE plastic, and to raise awareness about sustainability in Cyprus.
Each card holder is made from upcycled plastic that is collected from rivers, beaches, and fields around Cyprus. From discarded bottle caps to milk jugs, the plastic is cleaned and repurposed into a unique wallet. Since no two batches of material are exactly the same, every wallet has its own distinct look.

With its small size, this wallet comfortably holds up to four credit cards and some cash. It’s designed to be compact and fit easily into a pocket, providing a simple solution for anyone looking to travel light.
How It's Made
After the design and material selection, metal plates are laser cut to create the mold for the plastic. The plastic is shredded and melted down, then injected into the mold to take shape.
The elastic band is cut to length and hand sewn together to ensure it holds firmly. For packaging, boxes are laser cut from discarded cardboard and assembled without glue, ensuring the packaging is as sustainable as the product itself.
<━━━━━━━━>
Tablet Stand
Designed to be compact, super lightweight, and minimalistic, this stand is a versatile accessory for your tablet or phone. Weighing less than 500g, it effortlessly folds and extends, offering convenience and portability anywhere you are.

How many times have you washed your dishes trying to place your phone somewhere so you can multitask? For me it has become a must, video calls, YouTube videos, movies, reading lectures, etc. Whenever I want my phone to be propped up at a specific angle, this stand comes to the rescue.
The components are laser and CNC cut with sub-millimeter precision, ensuring a perfect fit and finish.

Reckon you can make it yourself? Head over to our Instructables page for detailed instructions and become a maker in the process!
https://www.instructables.com/Make-an-Adjustable-and-Minimal-TabletPhone-Stand-U/

Photo credits George Dimoglou @yorgosdaem
<━━━━━━━━>
ELECTRONICS CASE
This project is unaffiliated with JustMakeItStudio, it is work done by Alex while working for CYENS CoE. It's just a cool project to share.
A short brief: a DJI drone has to be able to carry some custom electronics securely with a small footprint and this case will be used for testing purposes so easy and fast access to the insides is critical. After the team gave the brief, a list of requirements was drafted and a detailed design concept was shared, gathering feedback along the way.

At this point, the concept became an assembly of 3D models using Rhino7. It's made of 6 pieces, 2 shells that snap together, a flexible opening for cable connections, and 3 light tubes. The individual parts were 3D printed using the Formlabs 3 resin 3D printer. Multiple materials were used: White, Clear, and Elastic. Each was selected based on their properties.

An interesting feature requested by the team was for the user to be able to monitor the LED indicators located at the bottom of the custom electronics board. The proposed solution was to create a clear plastic part that would act as a light tube guiding the light to the front of the case. After prototyping this concept it was not successful but a valuable insight for a new design solution.

The outer shells were made out of White resin that is hard and can protect the electronics from the sun or a fall. The light tubes are made out of the Clear resin that in theory should guide the light. Finally, the flip door is made out of Flexible resin that can bend and squeeze to allow access to some ports without dismantling the two shells.
This project is still ongoing, but this prototype served an invaluable role, giving immediate and factual future design alterations. Stay tuned for the final!
<━━━━━━━━>
Precious Plastic Manual Plastic Injection Machine
This project kickstarted this studio and I'm grateful for the group that trusted me to pull it off. It involved many aspects of what I aspire this studio to become. From client negotiations to material gathering, metalworking and finding new collaborators. One part, in particular, had me struggling, the sheet metal hopper was just not turning out as crisp and professional. So, I admitted defeat and visited a local sheet metal workshop, I gave the guy a schematic of the final piece, and after some days he delivered! At that point I had learned a valuable lesson, some things are best left to people who are specialists.
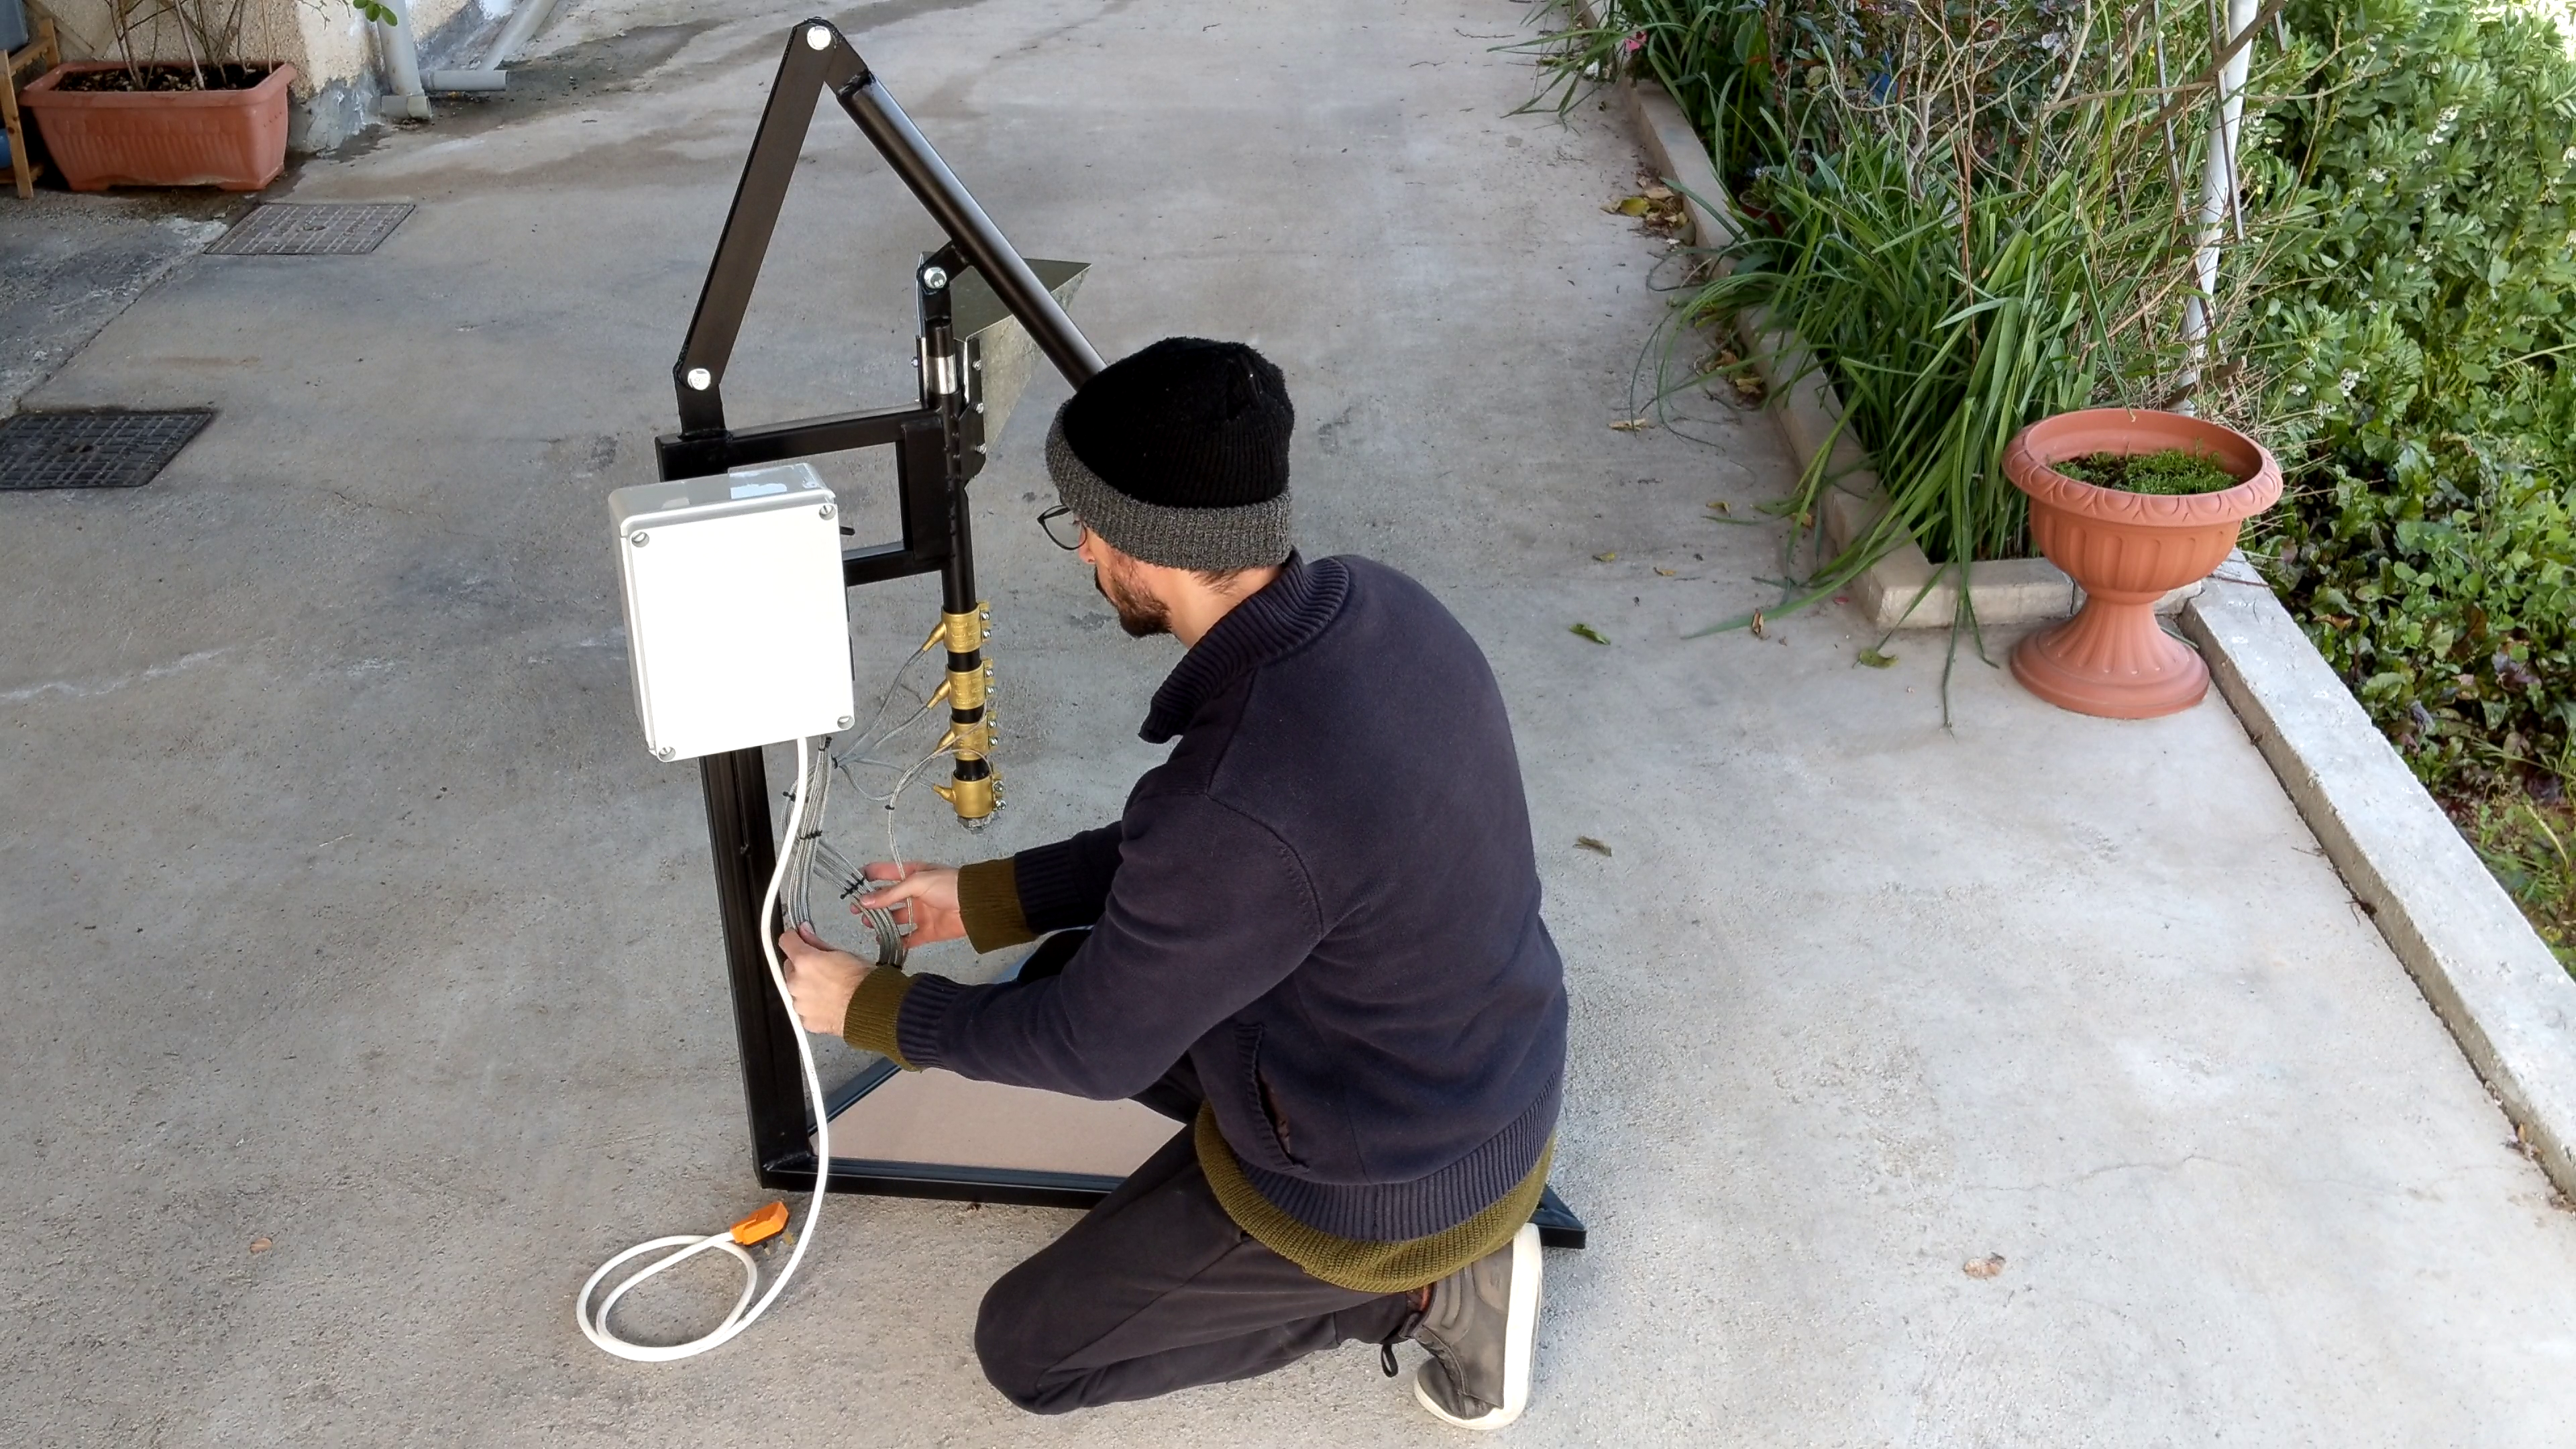
The main barrel has to be completely straight, otherwise the plunger will not be able to push the molten plastic through. This poses a huge problem for the nozzle. By attempting to make the machine more robust by welding a pipe fitting to the end of the barrel to be able to clean or change the nozzle, the pipe started to warp from the heat of the welding process. This was solved with a lot of back and forth and welding in a star configuration. Another lesson learned the hard way...
The overall design along with the electronics is from Precious Plastic (https://www.preciousplastic.com/). But just for the sake of practicing CAD, a new 3D model and 2D printable plans were made and followed. This machine has a harsh life, it has to endure heat, flowing molten plastic, and people pulling and pushing the heck out of that handle. Therefore, a few follow-up visits were necessary to keep it operational.
<━━━━━━━━>
FOLLOW FOCUS FOR A VIRTUAL PRODUCTION STUDIO
This project is unaffiliated with JustMakeItStudio, it is work done by Alex while working for CYENS CoE. It's just another cool project to share. With that out of the way, let's get right to it.
The need was to read and control the rotational position of both the focus and zoom rings of a camera lens. The body of the device was modeled in Rhino and then laser cut out of 6 and 3mm acrylic. The brains of the operation was an ESP32 Devkit V1, which is my goto microcontroller board. And finally, to get the rotational positions two parallax feedback 360-degree high-speed servo motors were used.

<━━━━━━━━>
WHAT IS CNC MILLING?
CNC milling or machining in broader terms, stands for Computer Numerical Control. It's a manufacturing process that involves the use of computer-controlled machines to remove material from a workpiece leaving behind your desired shape.
These machines hold a cutting tool, often an endmill, that gets spun at high RPM by the spindle, and then moved in, commonly, 3 axis: left/ right, front/ back, and up/ down. These are called X-axis, Y-axis, and Z-axis respectively. This movement is performed with a high level of precision, allowing for repeated and tight-tolerance parts to be machined.
Of course, the kind of machine you are using will play a critical role in its overall capabilities. Some machines are made for light-duty electrical board tracing at credit card scale, while others are made to hog out toughened steel at container ship propeller scale at a rapid pace. Two companies that manufacture industrial CNC machines are Tormach and HAAS CNC. Now, for hobbyists, there are other affordable solutions like AVID CNC and VCarve, which pose limitations on material use and performance. And for the record, I have no relationship with any company mentioned here.
Moving on to the process, how do you CNC machine a part at home?
First, you need to design your part in CAD, or Computer Aided Design. There are a lot to choose from, some examples are Fusion 360, Rhino 3D, Solidworks, and Onshape. By using these programs you can create your part as a 3D model or 2D lines.
Second, the shape you created is imported into another software called CAM, Computer Aided Manufacturing. Its job is to translate your shape into machine code, called G-Code, that literally translates into the movement of the cutting tool. To achieve this it takes instructions from the user like the CNC dimensions, tooling, and raw stock dimensions and location. Next, through a specific interpreter, it translates that into G-Code that is then fed to the CNC machine via USB or the internet.
Furthermore, the selection of your CAM program depends on the type of work you are aiming at. If you will be creating 2 dimensional shapes, 2.5D objects, 3D surfaces, or carving letters, then your choice should reflect that. Quick note, a lot of CAD software have a CAM section already built in, but here is a quick list as reference: SolidCAM, Estlcam, RhinoCAM, SprutCAM, and VCarvePro.
Lastly, head over to your CNC. Start by securely fixing your raw material onto the bed of your CNC. Locate the starting point of your G-Code and zero your machine at that location. This is very crucial and depending on your machine this can be achieved using different methods. A hobbyist will probably bring the cutting tool so close to the workpiece that a piece of paper will not be able to pass between the 2. On the other hand, a professional may include a zeroing procedure in his G-Code that uses a tool called CNC probe that will automatically fill in the exact location of the raw stock and update the rest of the G-Code using those values. After that, you start the program and the machine will go to town creating your part in no time.
Some challenges include the initial setup and programming, as well as the need for skilled operators to ensure the machine runs effectively and safely. Despite this, CNC machining has evolved with advancements in technology, such as the integration of more axis and automation.
<━━━━━━━━>